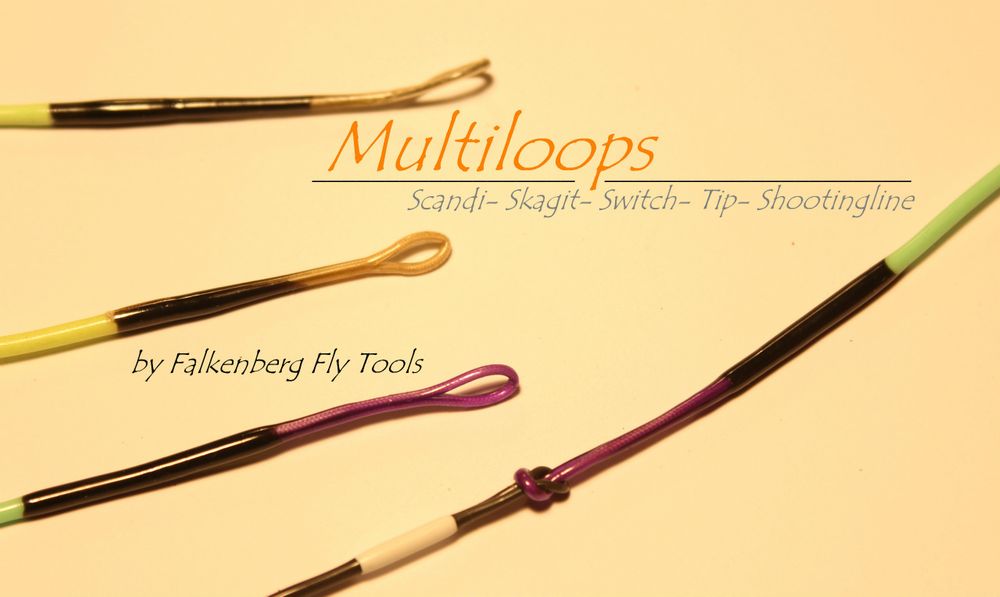
Multiloops
Sæt til at lave disse her løkker er snart i vores shop.
Vejl. til fluelineløkker (Loops med CLMF folie)
Tekstvejl. til Loops med CMLF fluer.
(der er et lille teknisk problem med at kunne zoome ind så teksten kan læses rigtigt på den her vejl., men der arbejdes på problemet! )


Add the flyline core on this CMLF foil and close it down. This process can also be seen in the diagram above.

When the CLMF foil is folded around the fly line it is time to merge it with the core / fly line. It is preferable that the heating / melting both sides of CLMF foil in order to obtain the best result.

How it should look like after the silver foil has been removed.
Depending on how thin a loop you want to have you have to cut the excess clear CLMF foil away.

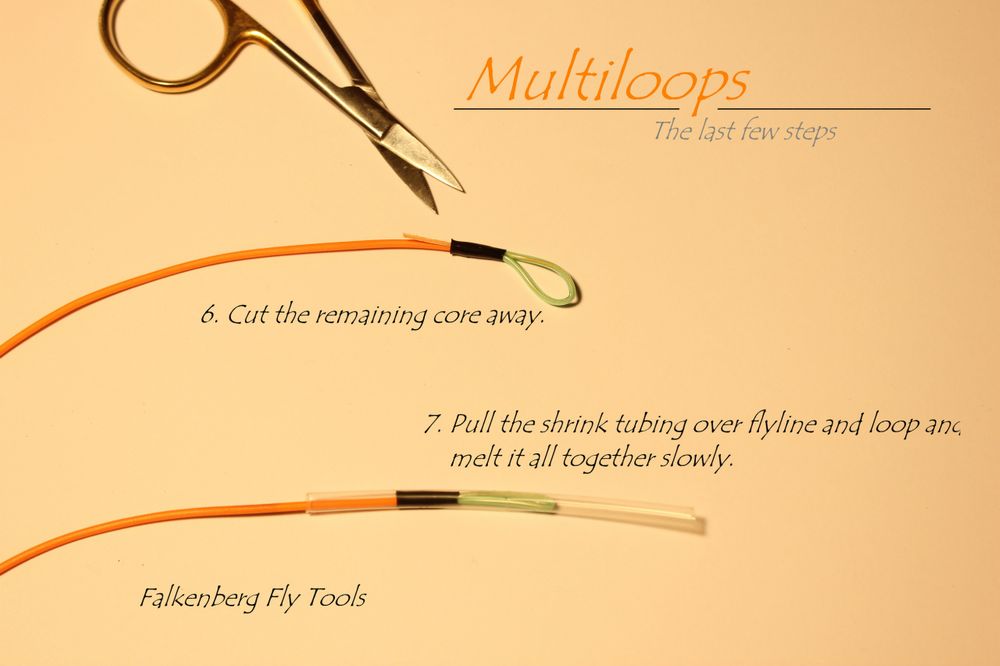
Here is the film been cut down around the nucleus and where the tips of the scissors pointing, put there a piece of shrink tubing to form the loop.

Here are the results after heat-shrinkable sleeve has been cut away. Now there is only the loop to be formed.

Here are the results after heat-shrinkable sleeve has been cut away. Of course can the loop be shaped and the transition to fly lines with a one time shrink tubing.

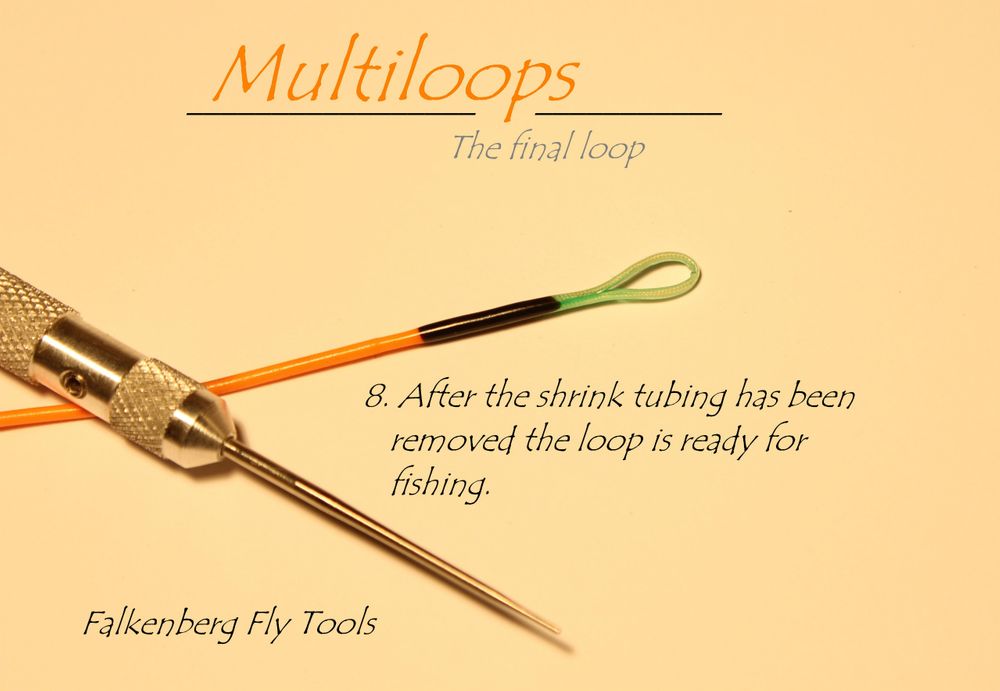
The Finish Loop!!!
Vejledninger til Fluelineløkker
Vejl. til fluelineløkker (Smelteloops)

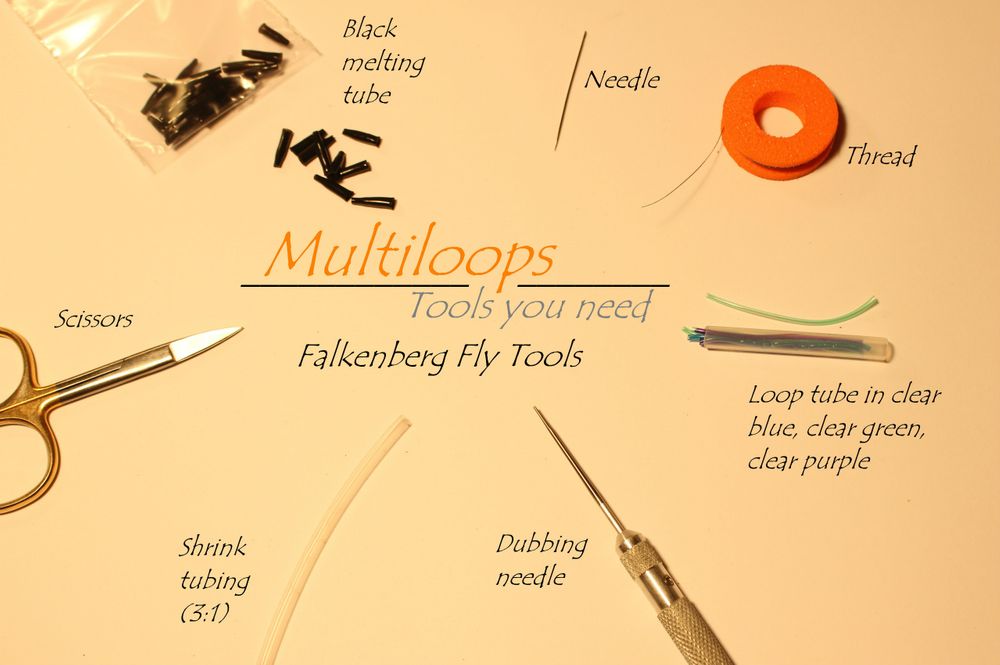
The main things that you need for melting loops.

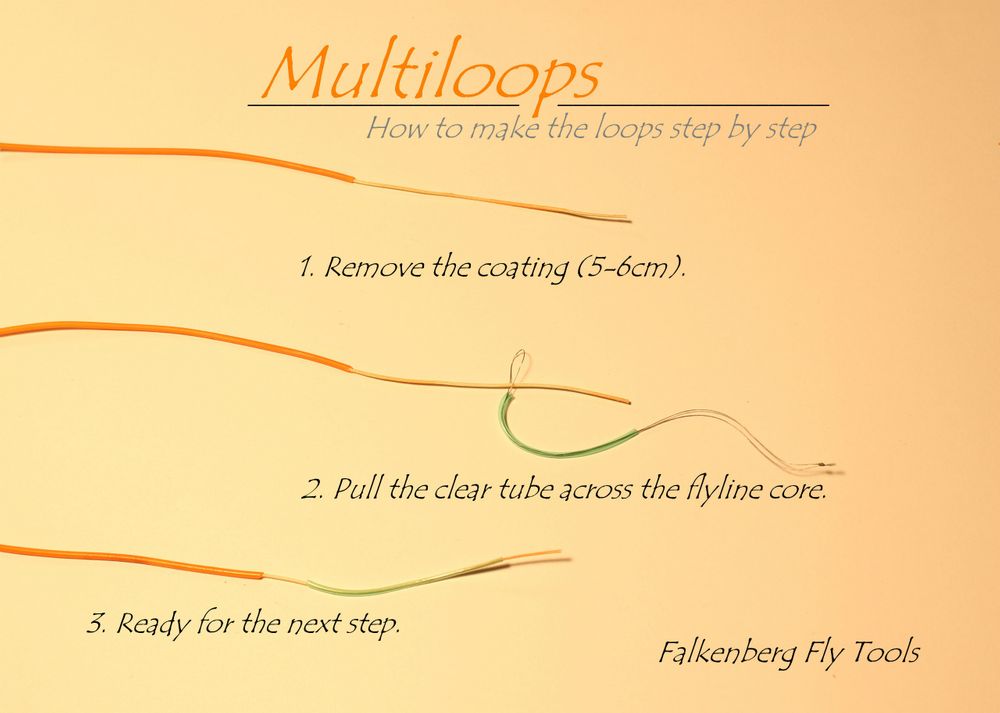
Remove 5 cm of the coating. The best way to remove it is to use a piece of backing. Do not use chemicals!!

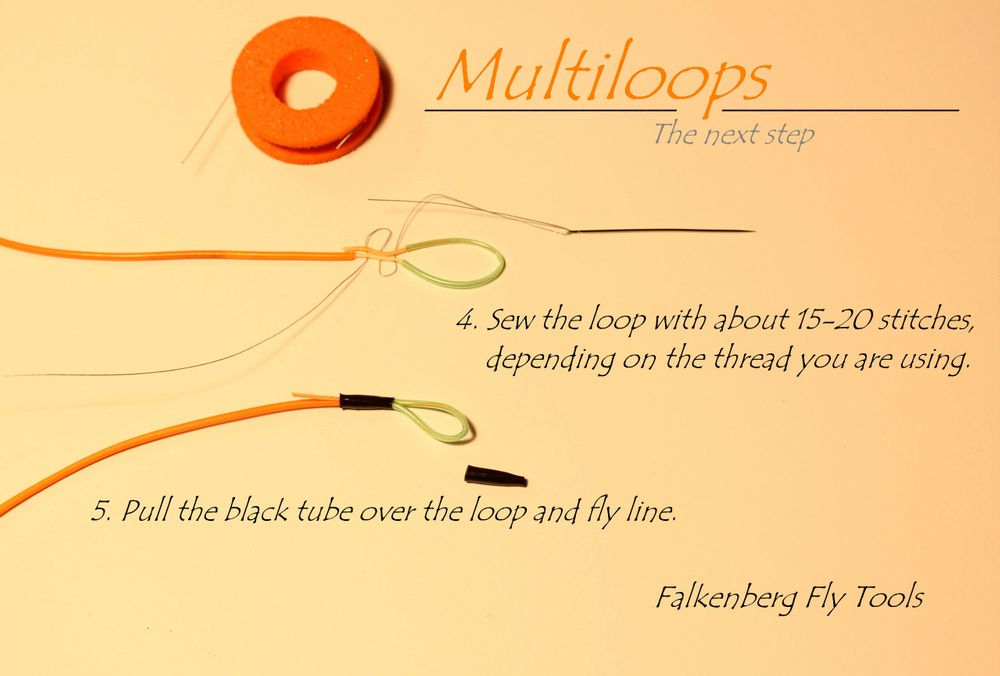
Use a needle to take 5-10 stitches to form a loop like on the picture. The thread for this is Dyneema.

When you are finished sewing, so stint thread over the stitches you have made and exit so with a half wall. Now you also cut the rest of the core of so there is only about 1.5 cm back. It is quite important that you do not make mistakes here!!

Now you must take one of the black tubes and make sure that it covers both the excess 1.5 cm coating / remaining core and the stitched piece.

Make a loop with a piece of copper wire so you can better experience threading the tube into flyline loop.

Once you've got the tube on the loop, so it should look like this. And if both sewing and 1.5 cm loose core is covered by the black tube, then it is ready to be merged.

The length of heat-shrinkable sleeve on the image is only a eksemple! Use a piece that covers the black tube and which fits you best handling and be very careful with the heat! Use a heat gun or a lighter, it's the best in my opinion.

Once you have cut heat-shrinkable sleeve away it should look like this and you have a completely smooth transition and everything is melted together with fly line.

Now the black glue gets on the loop, but be careful! It is best to use the syringe to dose and the best results are achieved by providing the loop 2-4 very thin layers. Hold down the line/ loop because the line sucks up the glue and the glue is only for sewing and not farther.

Now the loop and line ready to fish and is very durable!
Tight Lines.
Del siden